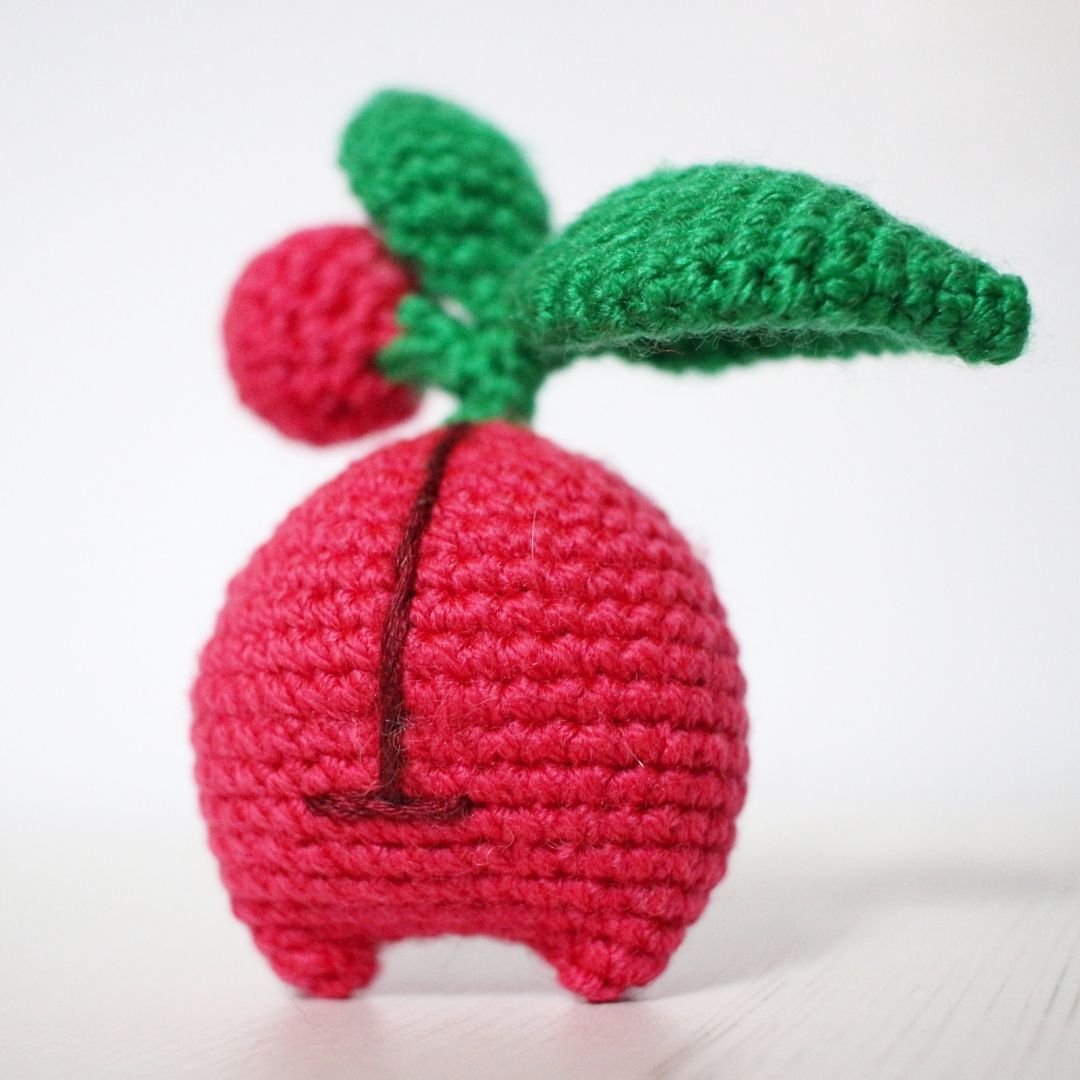
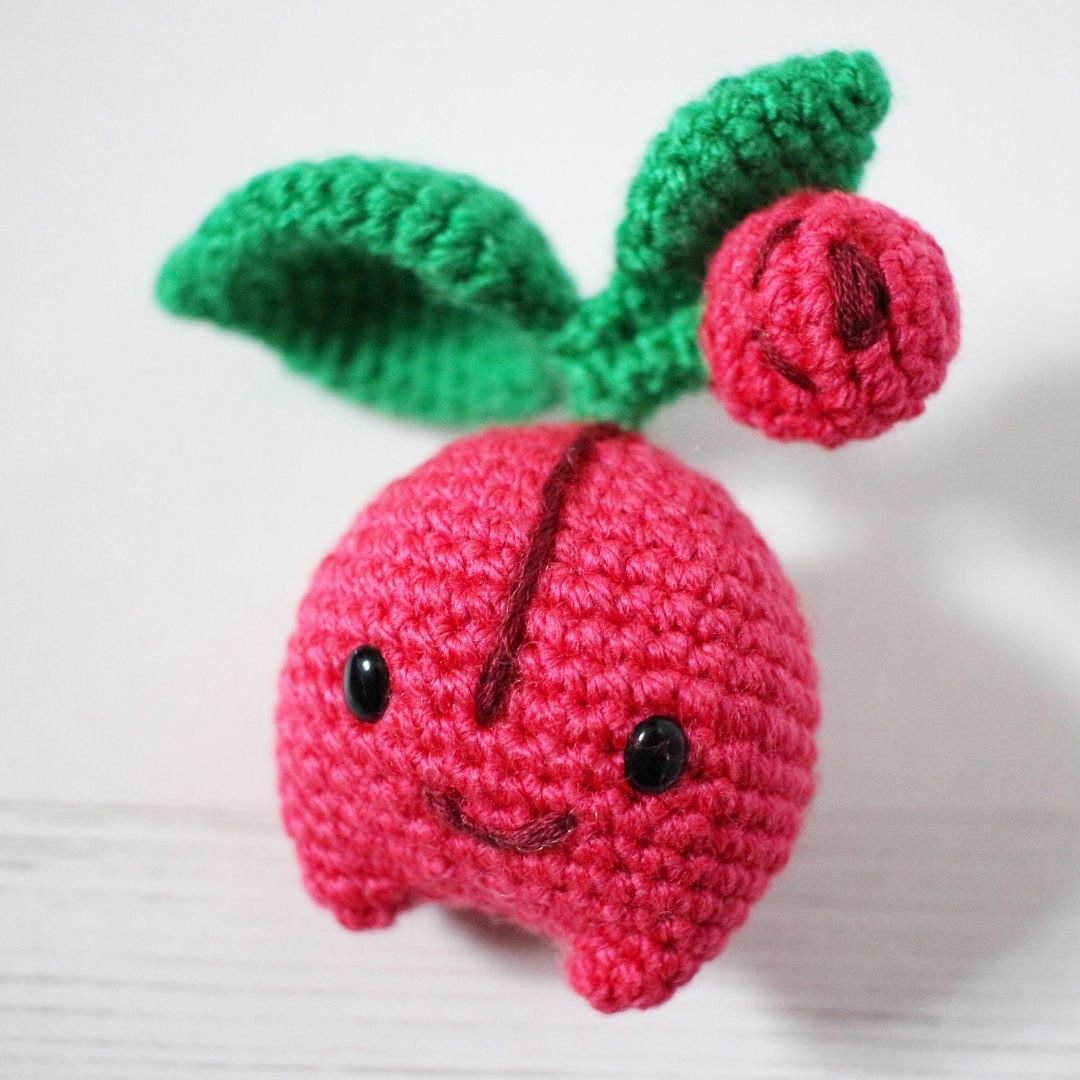
Cherubi Amigurumi Pattern
YARN & HOOK
2mm hook
Stylecraft Special DK in Fuchsia Purple and Kelly Green
6.5mm Oval Black safety eyes
Burgundy embroidery floss
Polyester toy filling
Pins to place pieces before sewing together
Darning needle
Stitch markers (I prefer using scrap yarn as “stitch markers”)
SIZE
Cherubi is approximately 9cm tall including the leaf, and 5cm in width.Weight: 20grams (this includes all materials used to make Cherubi)
STITCHES & ABBREVIATIONS – UK ENGLISH
ch chain
dc double crochet
st/sts stitch/es
inc dc 2 in one st
dec decrease; insert hook in the front loop of the next two sts, yarn over, pull through both loops, y.o. and pull through remaining two loops –> one dc placed into two sts
THE PATTERN
HEAD & BODY
Yarn: Fuchsia Purple
Round 1: dc 6 in Magic Ring (6)
R2: inc in all sts around (12)
R3: (dc, inc) x 6 (18)
R4: (dc, inc, dc) x 6 (24)
R5: (dc 3, inc) x 6 (30)
R6: dc 30
R7: (inc, dc 4) x 6 (36)
R8: dc 36
R9: (dc 5, inc) x 6 (42)
R10-11: dc 42
R12: (dec, dc 5) x 6 (36)
R13-14: dc 36
R15: (dec, dc 4) x 6 (30)
R16-17: dc 30
Time to place the eyes. The first eye goes into R12 in st number 9, and the second eye goes into st number 16.
R18: (dc 3, dec) x 6 (24)
Stuff firmly.We will now work up the first leg:
R19: dc 6 only. Fasten off, weave in loose end by inserting darning needle in the front loop of each of the 6 sts and pull tight to close the hole. First leg made.
We will now work up the next leg.
R19: continue where you fasten off for the first leg and skip the first 6 sts. Attach the yarn in the next st, dc in the same st and in each of the next 5 sts. As with the first leg fasten off and weave in loose end by inserting darning needle in the front loop of each of the 6 sts and pull tight to close the hole.You will have another 6 unworked sts after the second leg. Now is the time to add more stuffing if needed. Flatten the two sides together and sow the bottom together.
BIG LEAF
Yarn: Kelly Green
Round 1: dc 4 in Magic Ring (4)
R2: inc, dec 3 (5)
R3: inc in all sts around (10)
R4: dc 10
R5: (inc, dc) x 5 (15)
R6: (dc 2, inc) x 5 (20)
R7: (dc 4, inc) x 4 (24)
R8-13: dc 24
Before we move on I just wanted to check in… Are you reading this somewhere other than www.loopycathrine.com? Did you pay for it? Then you have been dooped. This is a free pattern on the above mentioned website only. Please head over there and let me know where you found it, report the seller on the platform you purchased the pattern and claim your money back. Thank you!
R14: (dc, dec) x 8 (16)
R15: dec x 8 (8)
R16: dec x 4 (4)
R17-19: dc 4
Fasten of and leave a long end to sew the piece onto the top of the head & body.
SMALL LEAF
Yarn: Kelly Green
Round 1: dc 4 in Magic Ring (4)
R2: inc, dec 3 (5)
R3: inc in all sts around (10)
R4: dc 10
R5: (inc, dc) x 5 (15)
R6-8: dc 15
R9: (dc, dec) x 5 (10)
R10: dec x 5 (5)
R11: dec, dc 3 (4)
Fasten of and leave a long end to sew the piece onto the stem of the big leaf. Make sure you have enough room below it to place the small berry.
SMALL BERRY
Yarn: Fuchsia Purple & Kelly Green
Starting with Fuchsia Purple
Round 1: dc 5 in Magic Ring (5)
R2: inc in all sts around (10)
R3: dc 10
R4: (dc, inc) x 5 (15)
R5-6: dc 15
R7: (dc, dec) x 5 (10)
Change to Kelly Green
R8: dec x 5 (5)
R9: dec, dc 3 (4)
R10: dc 4
Fasten of and leave a long end to sew the piece onto the stem of the big leaf, just below the small leaf.
EMBROIDERY FLOSS
Using burgundy embroidery floss to create Cherubi’s smile and the lines on the front and back of the main head & body, as well as the eyes and smile on the smaller berry.
THANK YOU & ENJOY!
Please do not reprint, sell or claim the pattern as your own.
I’ve loved creating this pattern so please don’t forget to credit the pattern designer.
I would love to see your creations! Please remember to tag me in your social media posts and use the following hashtag #loopycathrineamigurumi
For any questions about the pattern, please comment below and I will do my best to help.


