
Togepi Amigurumi Pattern
I’m so pleased to finally share my Togepi pattern with you. I’ve been really reluctant to share my patterns over the last few years as I keep seeing people stealing them and reposting them on their own sites. Some even going as far as selling them. People have no shame! As you can imagine this is incredibly demotivating…
So… before we get started, I just wanted to add a quick disclaimer: Please do not reprint, sell or claim the pattern as your own.
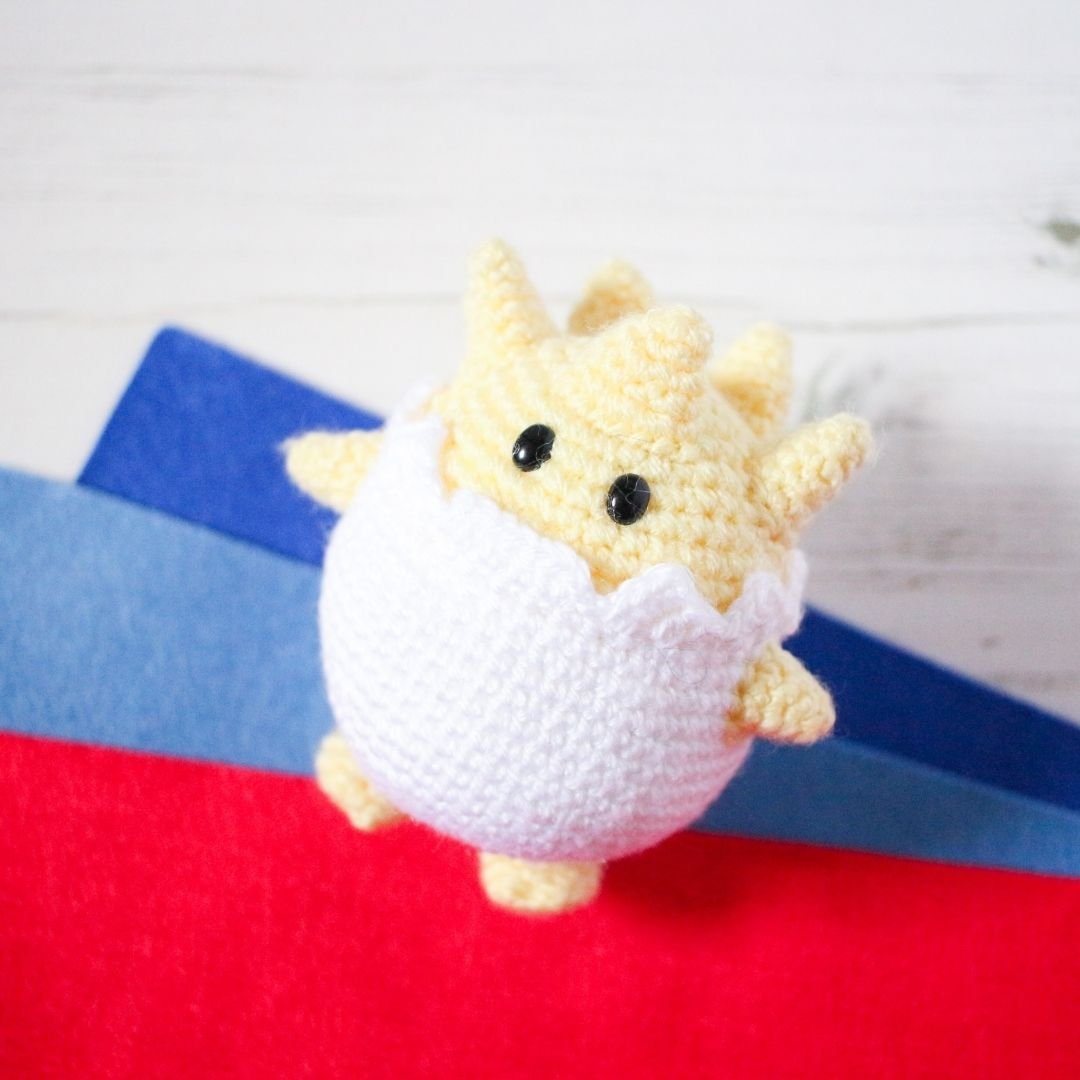
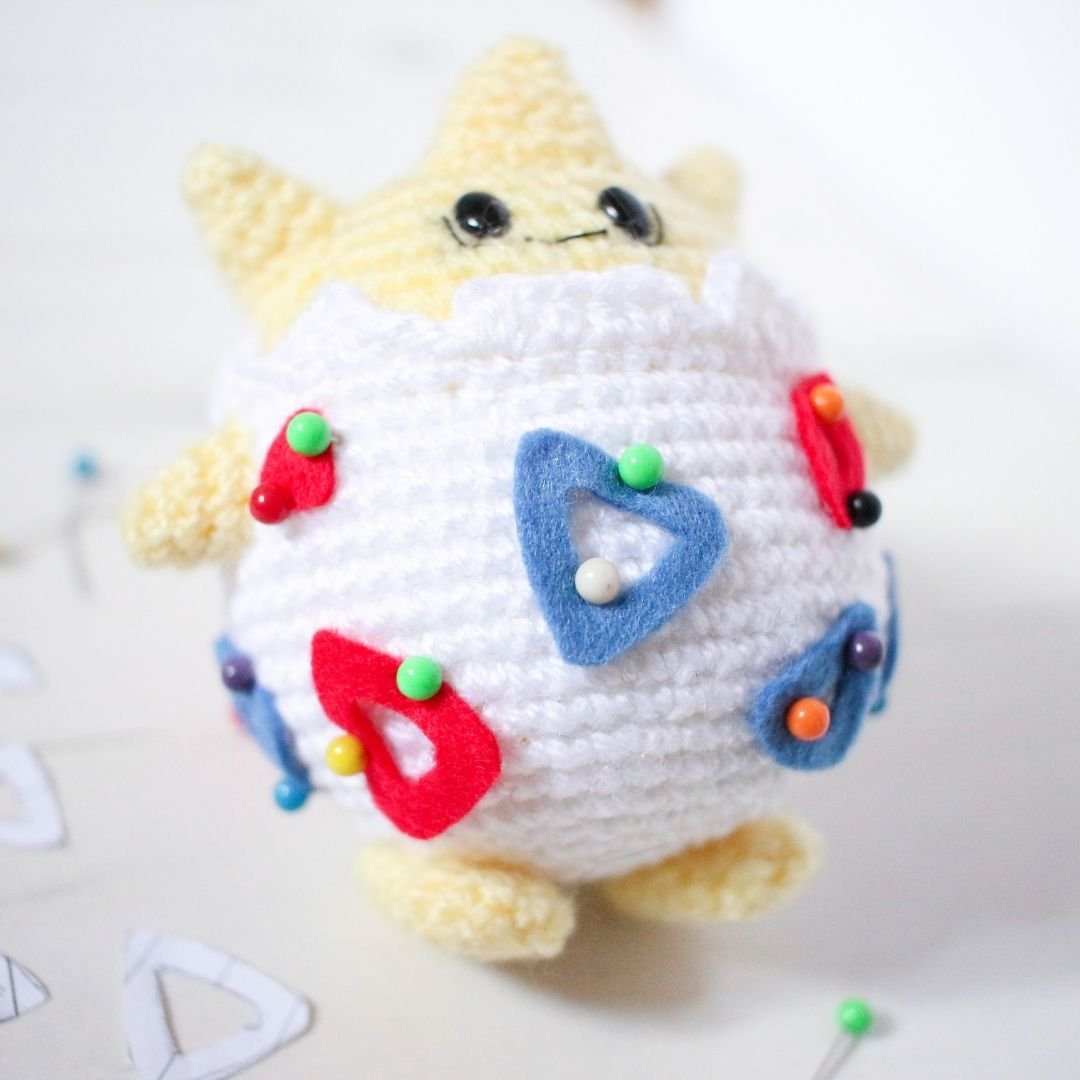
Togepi was one of my many 2020 makes that just never made it further than my notebook. I thought it would be a bit of a challenge to decipher my notes after almost a year and a half, but actually this pattern isn’t particularly complicated. The head and body are just one piece, with a lot of small pieces that need to be sewn on separately. But once it’s all done, isn’t she just adorable?!
As always, I’ve tried to keep my pattern as simple as possible to read – which isn’t always beginner friendly. So if you have any questions about the pattern, please pop them in the comments and I will do my best to answer as soon as I can.
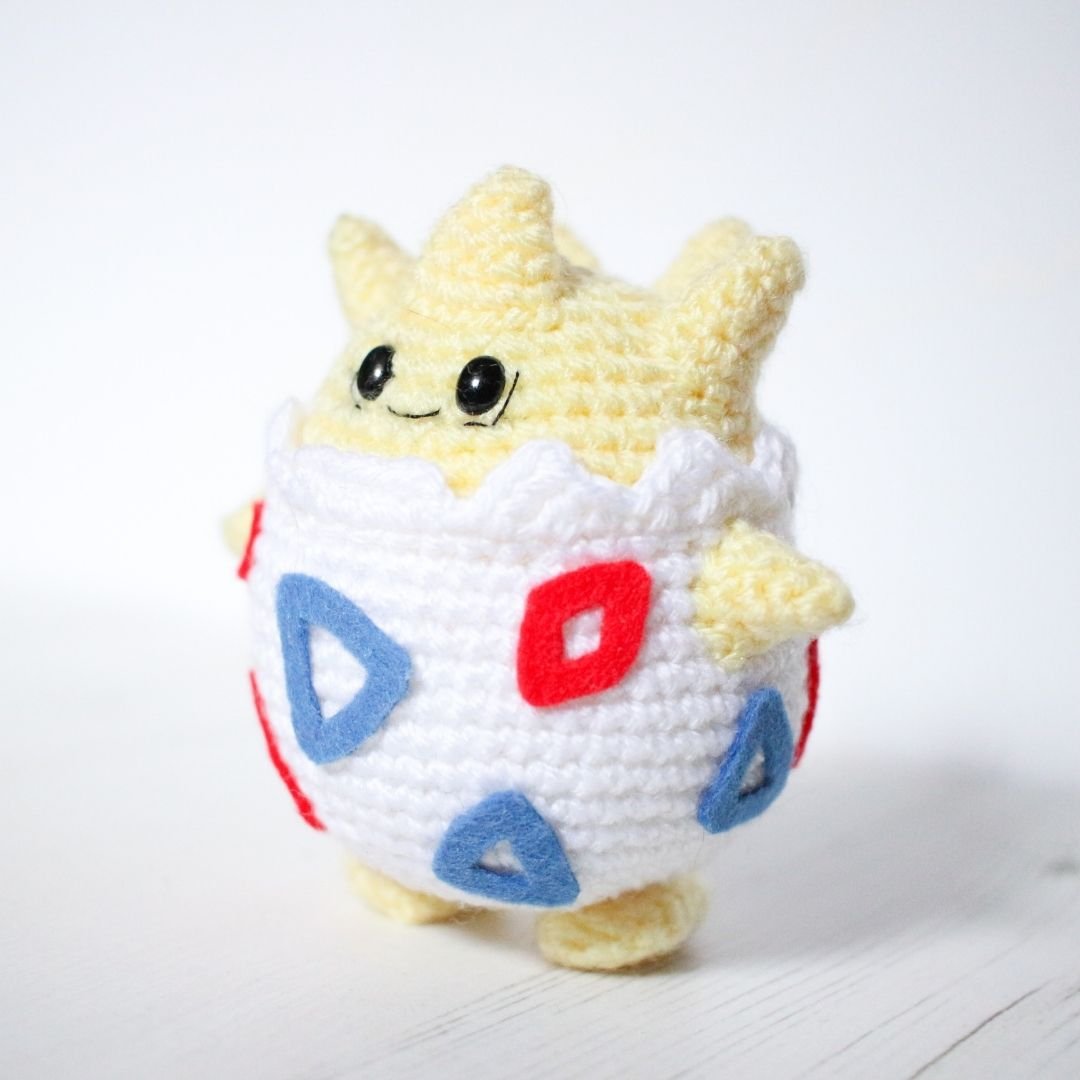
Let’s talk a little bit more about this little amigurumi. She is approximately 9cm tall from the bottom of her feet to the tip of the front spike, and 8.5cm in width from the tip of each arm, and approximately 6.5cm from front to back. She weighs 31grams (this includes all materials used to make her). You’ll find my recommendations in supplies and notions in the next section.
Let’s get started!
YARN & HOOK
2mm hook
Stylecraft Special DK in White and Lemon
6mm black oval safety eyes
Blue and Red felt
Black embroidery floss
Toy filling
Pins to place pieces before sewing together
Darning needle
Stitch markers (I prefer using scrap yarn as “stitch markers”)
STITCHES & ABBREVIATIONS – UK ENGLISH
Just a friendly reminder that this pattern is written in UK terms, which differs from US terms. So before you pick up that hook don’t forget to familiarise yourself with the differences. You’ll end up with a very different looking Togepi if you accidentally read it in a different crochet language than what it is written in…
ch chain
dc double crochet
htr half treble
tr treble
sl st slip stitch
st/sts stitch/es
inc increase; dc 2 in one st
dec decrease; insert hook in the front loop of the next two sts, yarn over, pull through both loops, y.o. and pull through remaining two loops one dc placed into two sts
y.o. yarn over
ASSEMBLY
I would recommend assembling Togepi in the same order the pattern is written. I normally screenshot a photo of the character I am creating as reference for best possible outcome. Pin all the pieces in place before sewing to make sure it looks right, including the felt pieces. Moving a piece even as little as one millimetre can make a huge difference in the final outcome. Once all the crocheted pieces sewn into place use fabric glue to attach the felt pieces. I always leave the glue until last!
THE PATTERN
HEAD & BODY
Yarn: White and Lemon
Togepi head and body is made in one piece, beginning at the bottom and finishing with the head.
Starting with White:
Round 1: dc 6 in Magic Ring (6)
R2: inc in all sts around (12)
I usually place a piece of scrap yarn between the last stitch made and the first stitch of the next round to mark a new round. Amigurumi pieces are usually so small that I personally find it too awkward to use normal stitch markers.
R3: (dc, inc) x 6 (18)
R4: (dc, inc, dc) x 6 (24)
R5: (dc 3, inc) x 6 (30)
R6: (dc 2, inc, dc 2) x 6 (36)
R7: (dc 5, inc) x 6 (42)
R8: dc 42
R9: (dc 3, inc, dc 3) x 6 (48)
R10: dc 48
R11: (dc 7, inc) x 6 (54)
R12-17: dc 54
R18: (dc 7, dec) x 6 (48)
R19: working in the front loops only: (dc 6, dec) x 6 (42)
It’s time to create the broken egg shell edging to the body.
R20: *(dec, htr, tr, ch 1, dc 2 down the side of the tr, sl st in the same st where the tr was placed)** x 4, sl st, (dc, ch 1, htr) all in the next st, htr in each of the next three sts, ch 2, sl st in the same st where the last htr was placed, sl st. Now repeat the section from * to ** 5 more times.
Fasten off and weave in loose end. The eggshell body is now done. Before we move on I just wanted to check in… Are you reading this somewhere other than www.loopycathrine.com? Did you pay for it? Then you have been dooped. This is a free pattern on the above mentioned website only. Please head over there and let me know where you found it, report the seller on the platform you purchased the pattern and claim your money back. Thank you!
Pick up the Lemon yarn to finish the head portion of the piece by attaching the yellow yarn in the unworked back loops of R18, and continue as follows:
R19: in the unworked back loops: dc 48
R20: (dc 6, dec) x 6 (42)
R21: dc 42
R22: (dc 5, dec) x 6 (36)
R23-24: dc 36
R25: (dc 4, dec) x 6 (30)
Now’s a good time to start stuffing the body
R26: dc 30
R27: (dc 3, dec) x 6 (24)
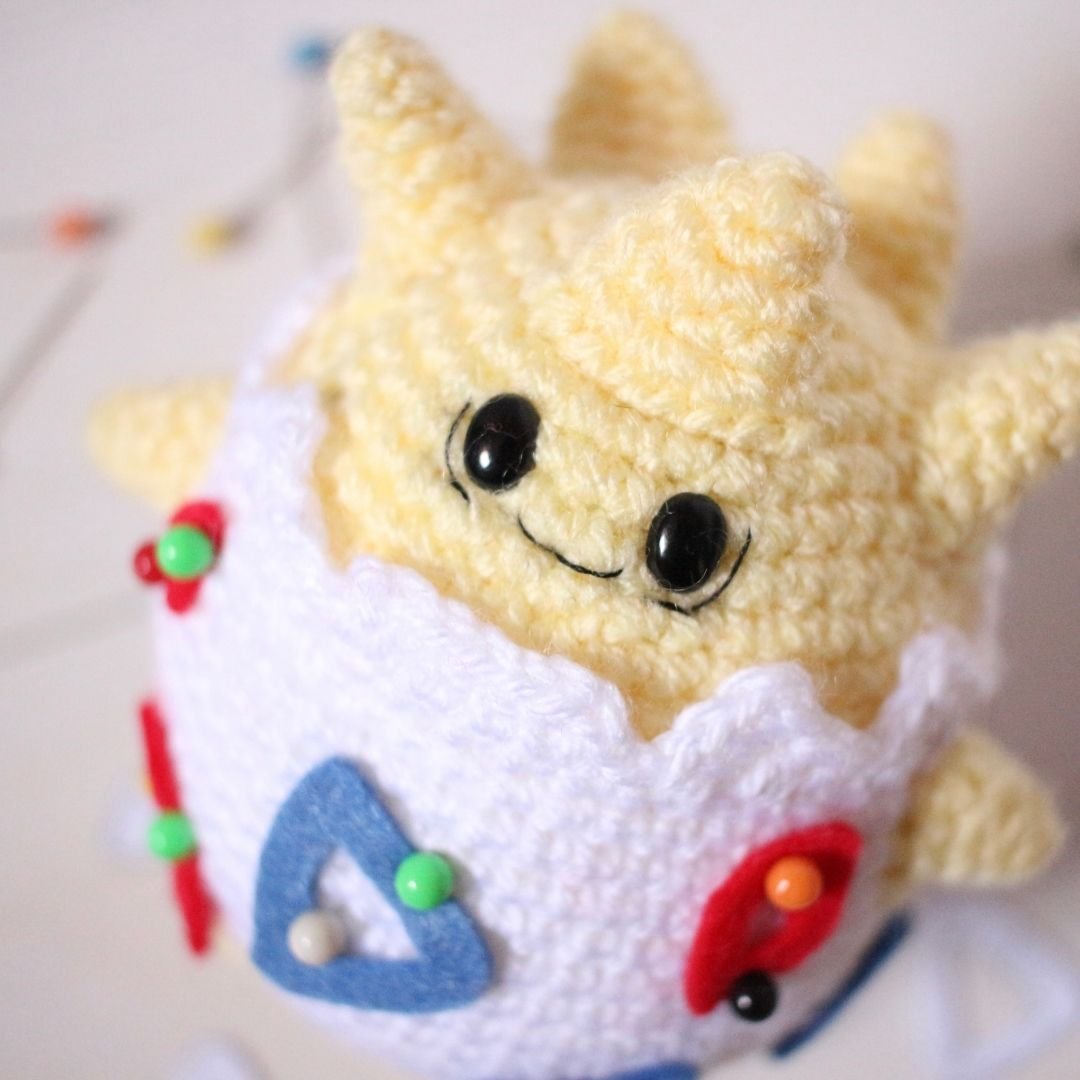
It’s time to insert the eyes. The first eye should go in R23 in st number 17, and the second eye should go in the same round in st number 21. This should be just over the flat edge of the eggshell. Since our yarn and tension may be a little bit different, I would recommend playing around a little bit with the placement of the eyes if these instructions don’t look quite right on your Togepi.
Once you’ve fastened the eyes now would be a good time to add some more stuffing.
R28: (dc 2, dec) x 6 (18)
Need a little bit more stuffing? Last chance!
R29: (dc, dec) x 6 (12)
R30: dec x 6 (6)
Fasten off. Weave in loose end by inserting darning needle in the front loop of each st and pull tight to close the hole.
EMBROIDERY FLOSS
Pick up some black embroidery floss for the lines around Togepi’s eyes and the mouth. I wanted the lines to be really fine, so I separated the threads in the embroidery floss and just used one strand to create the details.
FEET
Yarn: Lemon
Make 2
ch3 – we will be working around the chains to create an oval shape:
Round 1: dc in the second ch from hook, inc in the next ch, Continue on the other side of the row of chains: dc in the first ch on the other side, and inc in the last chain (6)
Continue in the round as normal:
R2: (inc, inc, dc) x 2 (10)
R3-7: dc 10
R8: dec x 5 (5)
Fasten of and leave a long end to sew the piece onto body.
ARMS
Yarn: Lemon
Make 2
Round 1: dc 4 in Magic Ring (4)
R2: (inc, dc) x 2 (6)
R3: dc 3, inc x 3 (9)
R4: dc 9
Fasten of and leave a long end to sew the piece onto body.
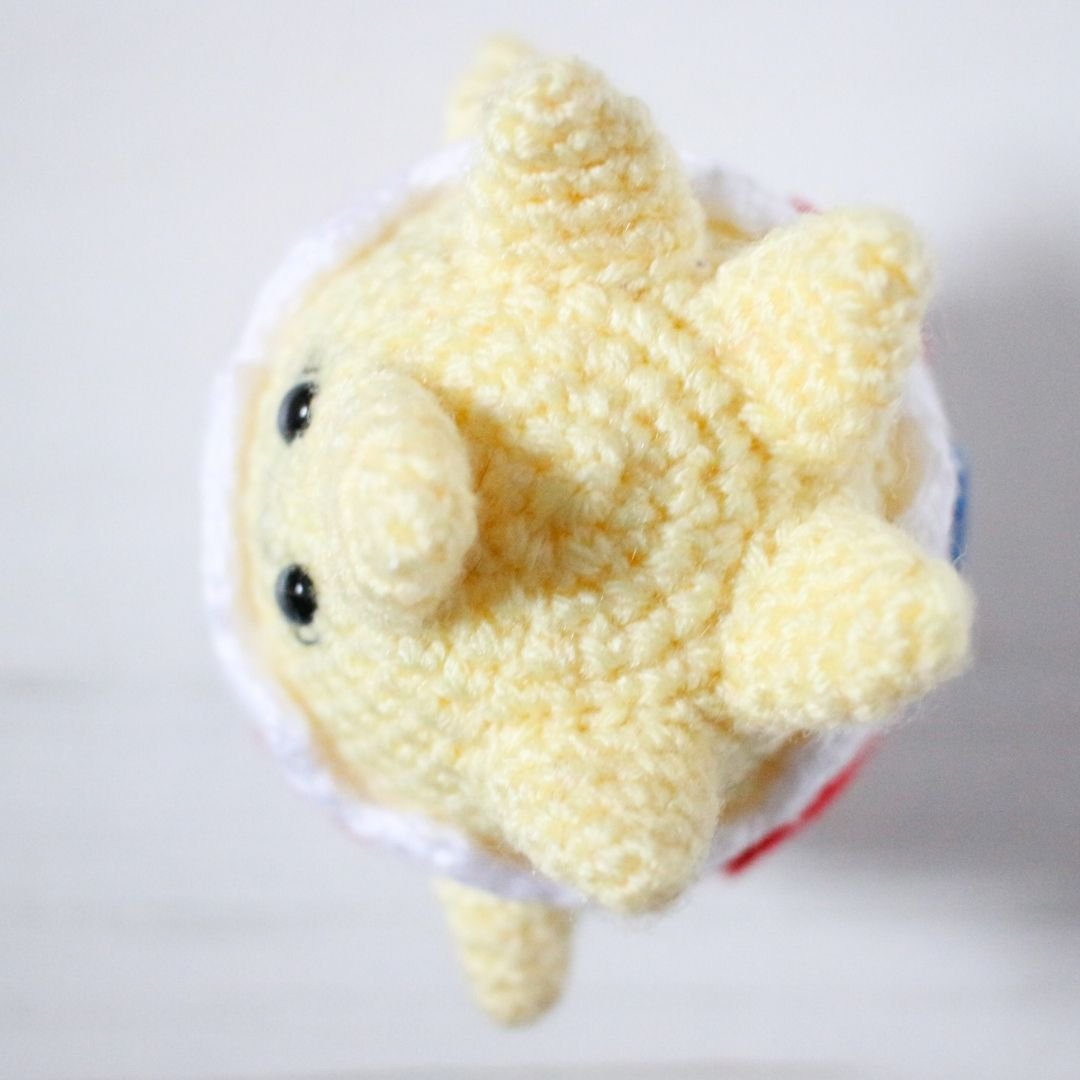
SPIKES
Yarn: Lemon
Make 4
Round 1: dc 4 in Magic Ring (4)
R2: (inc, dc) x 2 (6)
R3: dc 3, inc x 3 (9)
R4: dc 9
R5: dc 5, inc x 3, dc (12)
R6: dc 12
Fasten of and leave a long end to sew the piece onto the top of the head.
Make a 5th spike omitting the last round. This is the piece that will go at the front of Togepi’s head, just above the eyes.
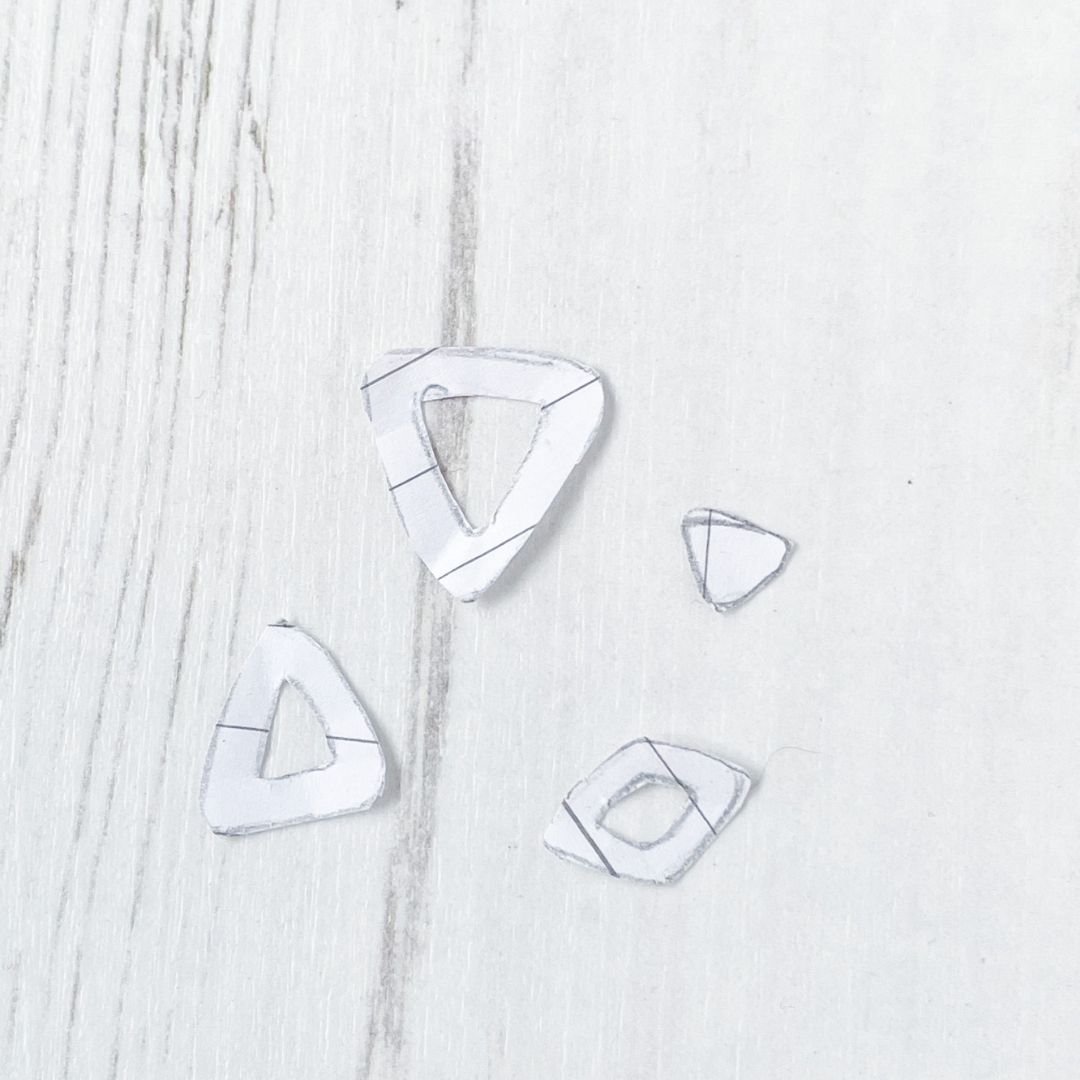
FELT TRIANGLES & SQUARES
It’s time for the final touches – the red triangles and squares!
Before I cut out the triangles/squares in felt, I created four different templates in paper to make sure I liked the shapes:
Small triangle x 1 (red)
Small rectangle x 1 (red)
Medium triangle x 3 (Blue)
Large triangle x 5 (3 x red, 2 x blue)
THANK YOU & ENJOY!
Please do not reprint, sell or claim the pattern as your own.
I’ve loved creating this pattern so please don’t forget to credit the pattern designer.
I would love to see your creations! Please remember to tag me in your social media posts and use the following hashtag #loopycathrineamigurumi
For any questions about the pattern, please comment below and I will do my best to help.