
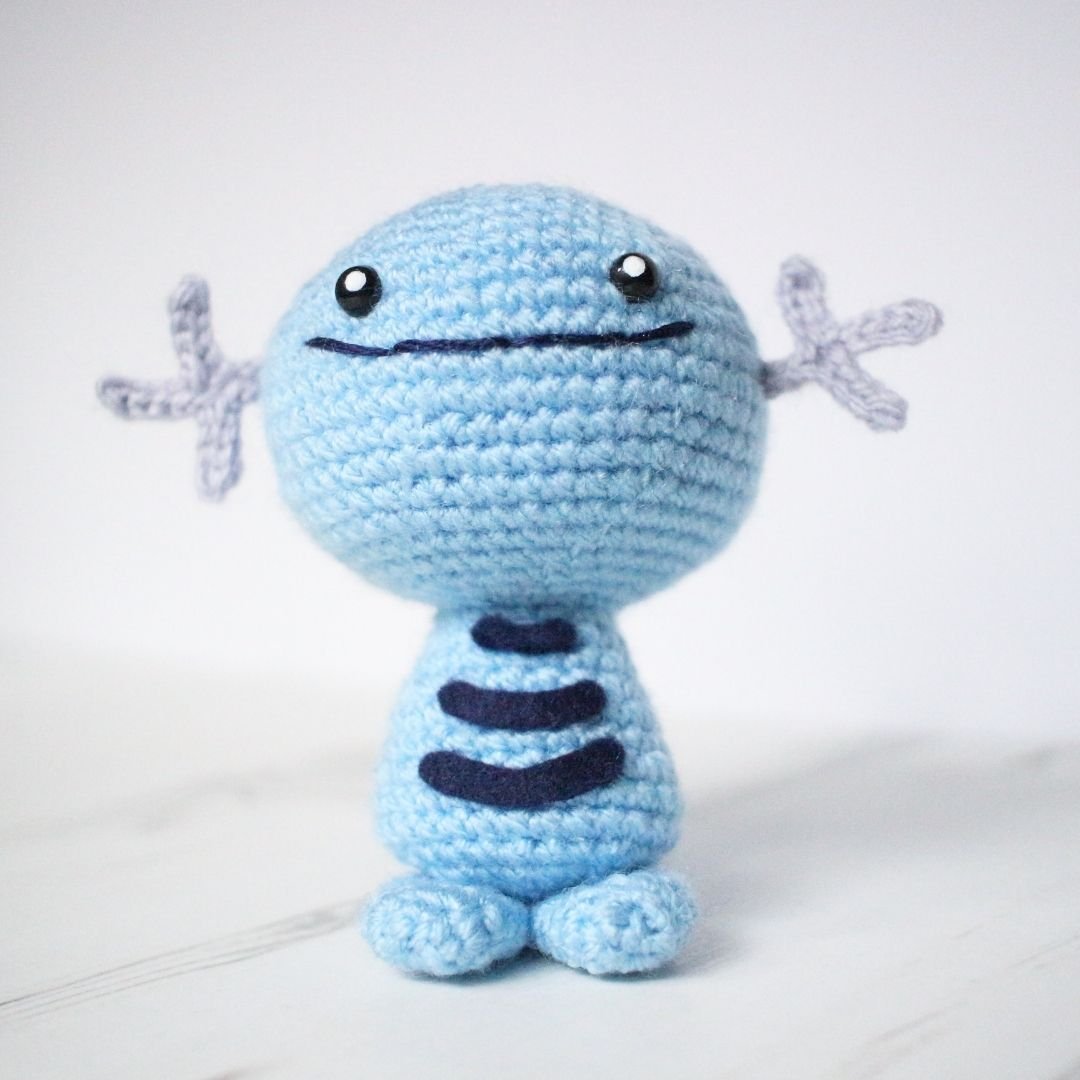
Wooper Amigurumi Pattern
YARN & HOOK
2mm hook
Stylecraft Special DK in Cloud Blue and Parma Violet
9mm safety eyes, optional: white uni posca marker to make white pupils
Dark blue felt
Fabric glue
Dark blue embroidery floss for the mouth
Polyester toy filling
Pins to place pieces before sewing together
Darning needle
Stitch markers (I prefer using scrap yarn as “stitch markers”)
STITCHES & ABBREVIATIONS – UK ENGLISH
dc double crochet
sl st slip stitch
st/sts stitch/es
inc dc 2 in one st
dec decrease; insert hook in the front loop of the next two sts, yarn over, pull through both loops, y.o. and pull through remaining two loops –> one dc placed into two sts
rs right side
ws wrong side
THE PATTERN
HEAD & BODY
The head and body will be worked as on piece from top to bottom.
Yarn: Cloud Blue
Round 1: dc 6 in Magic Ring (6)
R2: inc in all sts around (12)
R3: (dc, inc) x 6 (18)
R4: (dc 2, inc) x 6 (24)
R5: (dc 3, inc) x 6 (30)
R6: (dc 4, inc) x 6 (36)
R7: (dc 5, inc) x 6 (42)
R8: dc 42
R9: (dc 6, inc) x 6 (48)
R10: dc 48
R11: (dc 7, inc) x 6 (54)
R12-14: dc 54
R15: (dc 7, dec) x 6 (48)
R16: dc 48
R17: (dc 6, dec) x 6 (42)
R18: dc 42
R19: (dc 5, dec) x 6 (36)
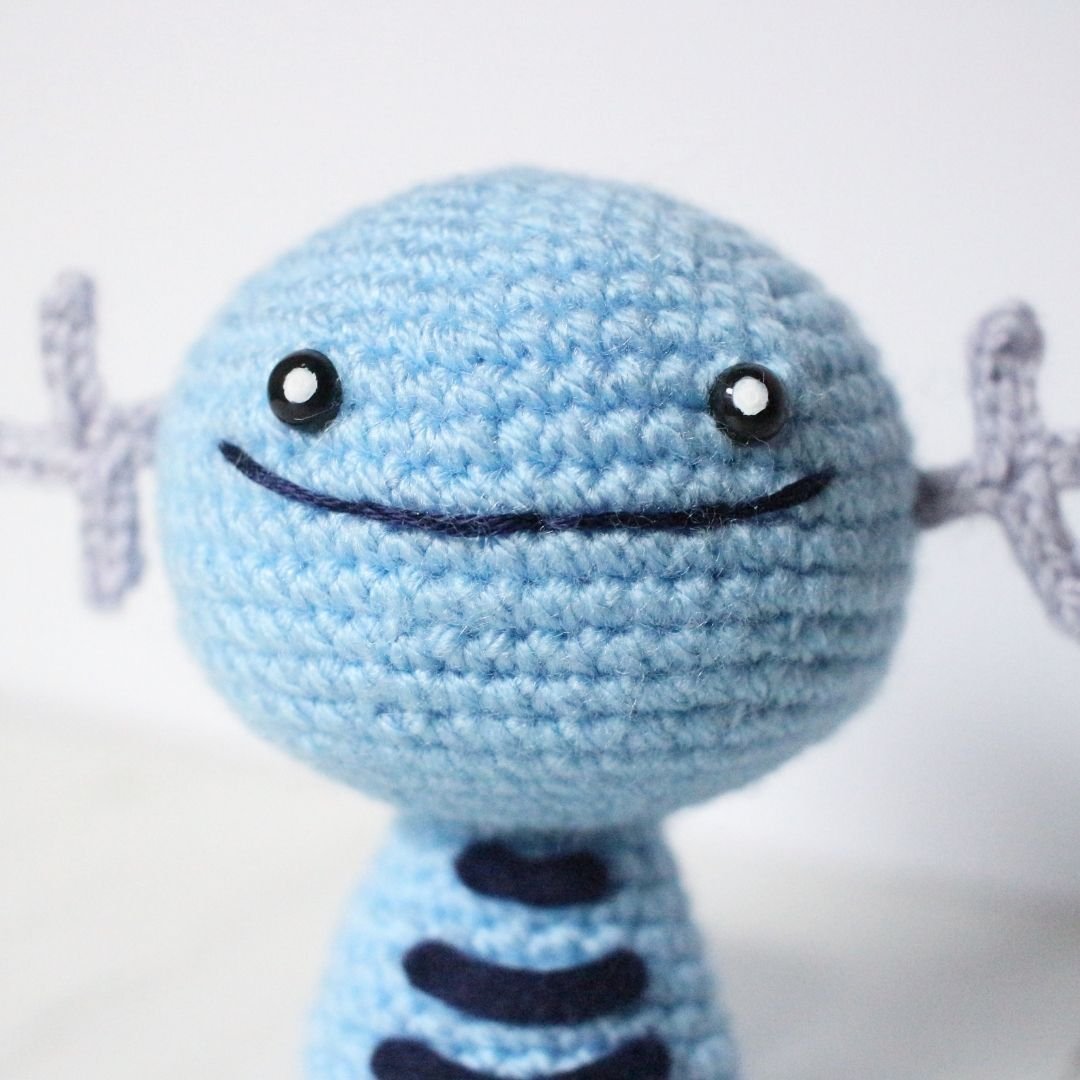
It's time to place the safety eyes.Locate rows 10 and 11, the safety eyes will be places between these two rows. Place the first eye between the 20th & 21st st, and place the second eye between the 29th & 30th st. Before we move on I just wanted to check in… Are you reading this somewhere other than www.loopycathrine.com? Did you pay for it? Then you have been dooped. This is a free pattern on the above mentioned website only. Please head over there and let me know where you found it, report the seller on the platform you purchased the pattern and claim your money back. Thank you!
R20: (dc 4, dec) x 6 (30)
R21: (dc 3, dec) x 6 (24)
R22: (dc 2, dec) x 6 (18)
R23: (dc, dec) x 6 (12)
The head is now complete and we will be working on the body without fastening off. You can start stuffing the head at this point. You will see that the placement of the increases differs from that of the head, as we will now be creating a slightly oval shape.

R24: (dc, inc) x 6 (18)
R25-26: dc 18
R27: *dc 6, (inc) x 3**, repeat from *to** twice in total (24)
R28-29: dc 24
R30: *dc 6, (dc, inc) x 3**, repeat from *to** twice in total (30)
R31-32: dc 30
R33: *dc 6, (dc, dec) x 3**, repeat from *to** twice in total (24)
R34: *dc 6, (dec) x 3**, repeat from *to** twice in total (18)
R35: (dc, dec) x 6 (12)
R36: dec x 6 (6)
Fasten off and weave in loose end.
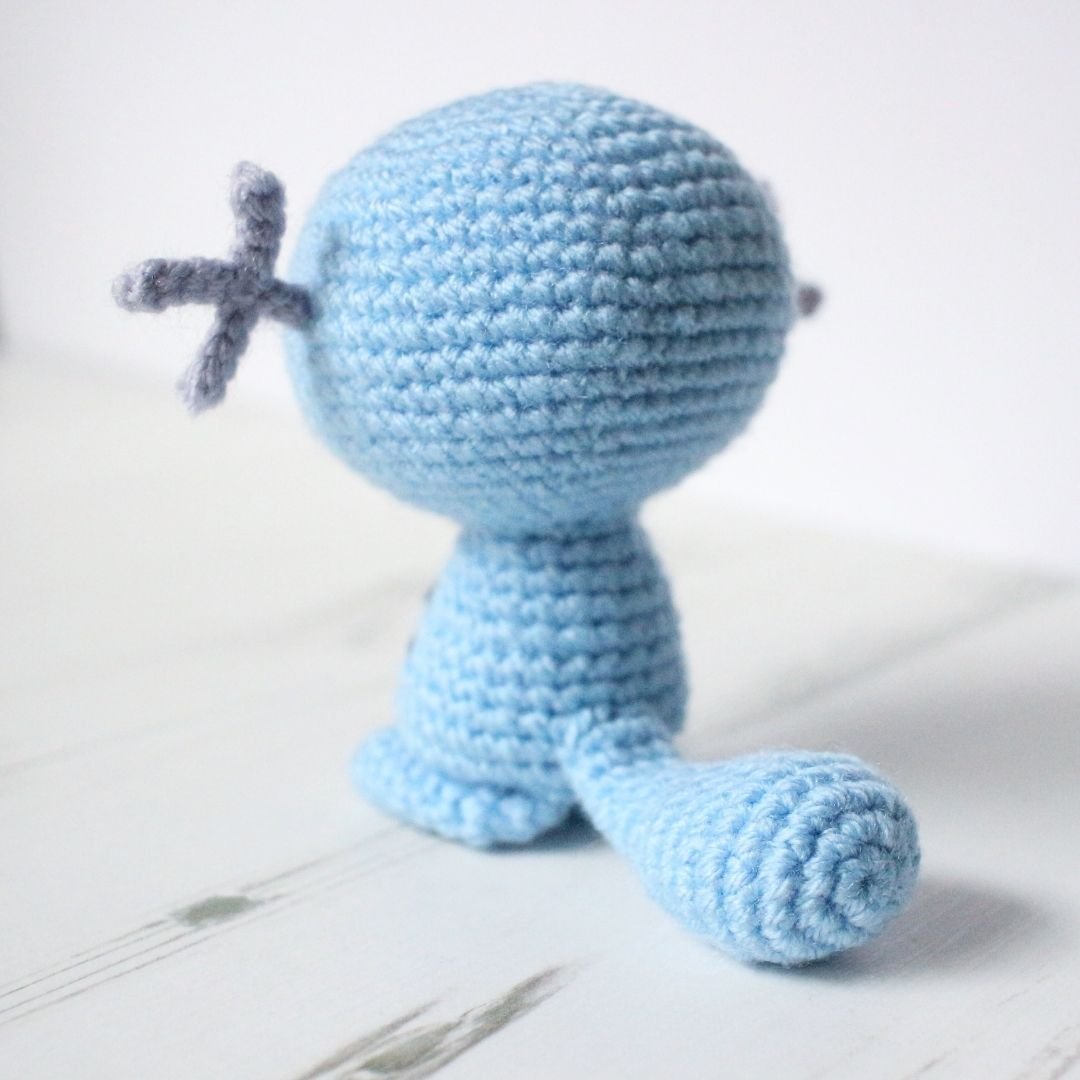
TAIL
Yarn: Cloud Blue
Round 1: dc 6 in Magic Ring (6)
R2: inc in all sts around (12)
R3: (dc, inc) x 6 (18)
R4-5: dc 18
R6: (dc 2, inc) x 6 (24)
R7: (dc 2, dec) x 6 (18)
R8-9: dc 18
R10: (dc, dec) x 6 (12)
R11-12: dc 12
R13: (dc 2, dec) x 3 (9)
R14-15: dc 9
Fasten off and leave long end for sewing.


FEET
Yarn: Cloud Blue
Make 2
ch 3
Round 1: dc in second ch from hook, inc in next st, dc on the other side of the same ch, inc in last ch (6)
R2: (inc, inc, dc) x 2 (10)
R3-8: dc 10
R9: dec x 5 (5)
Fasten off and leave long end for sewing.
FISHBONE "EARS" - FEMALE VERSION
Yarn: Parma Violet
Make 2
ch 2, *ch 5, sl st in the second ch from hook, sl in the next 3 chains**, repeat *to** three times in total, sl st in the very first two chains made.
Fasten off and leave long end for sewing.
Check out my Christmas Mash up Wooper for the male version.
ASSEMBLY
I would recommend using a photo of Wooper for reference for best possible outcome.Attach all the limbs.
Use dark blue embroidery floss to sew on Wooper's smile between rows 12 and 13.
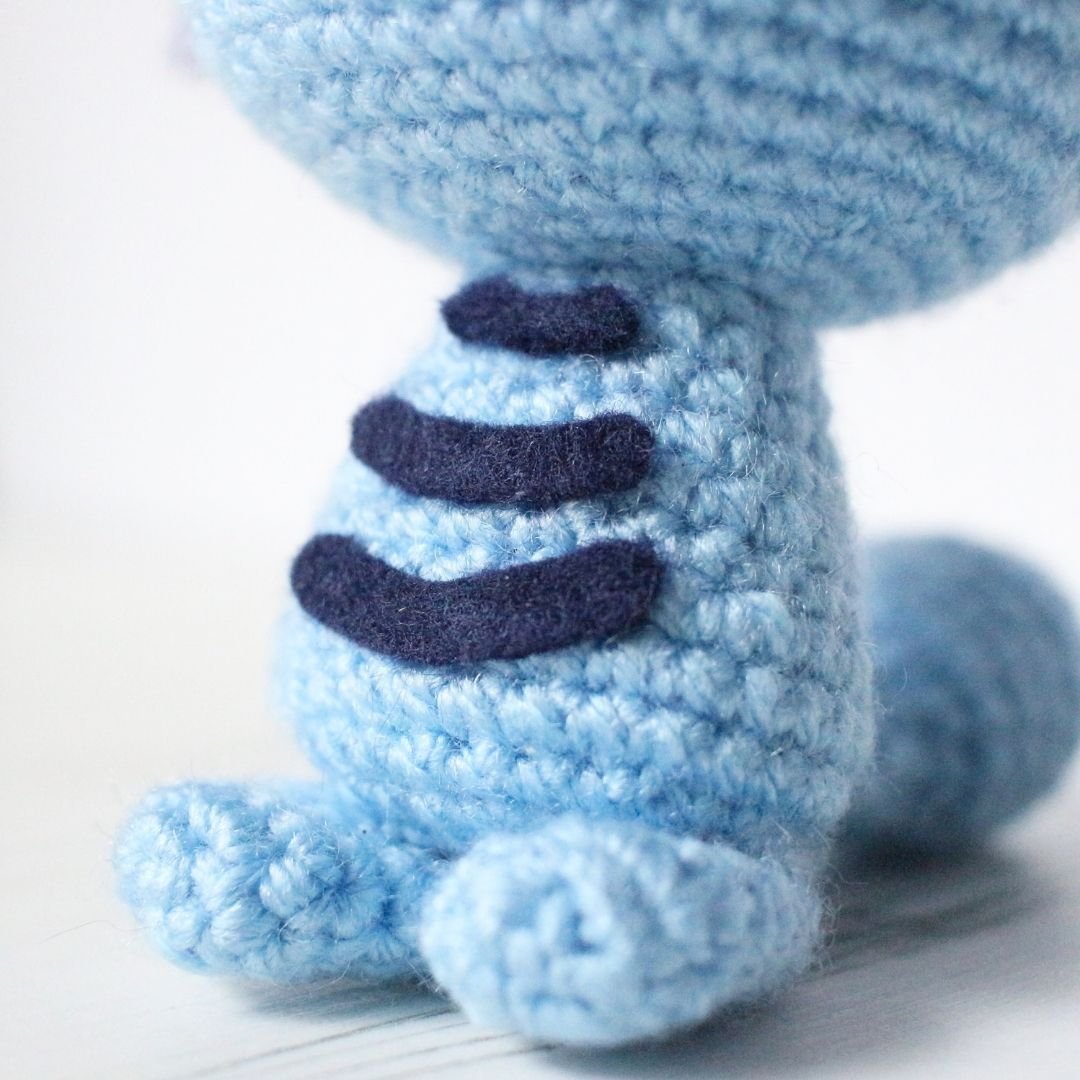
Cut out three pieces of blue felt resembling an upside down wi-fi logo (minus the dot) and glue onto Wooper's belly.
Optional: use your white marker to make a white pupil in both eyes.
THANK YOU & ENJOY!
Please do not reprint, sell or claim the pattern as your own.
I’ve loved creating this pattern so please don’t forget to credit the pattern designer.
I would love to see your creations! Please remember to tag me in your social media posts and use the following hashtag #loopycathrineamigurumi
For any questions about the pattern, please comment below and I will do my best to help.